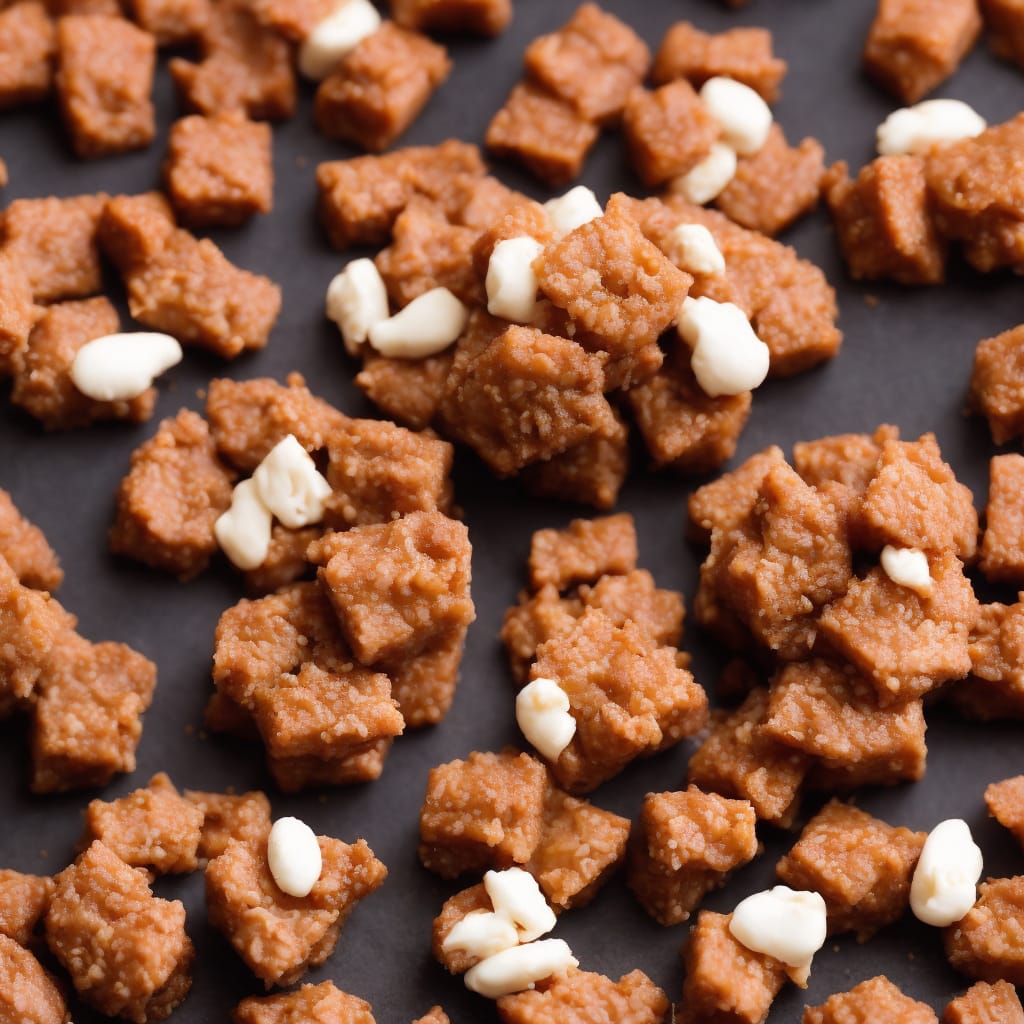
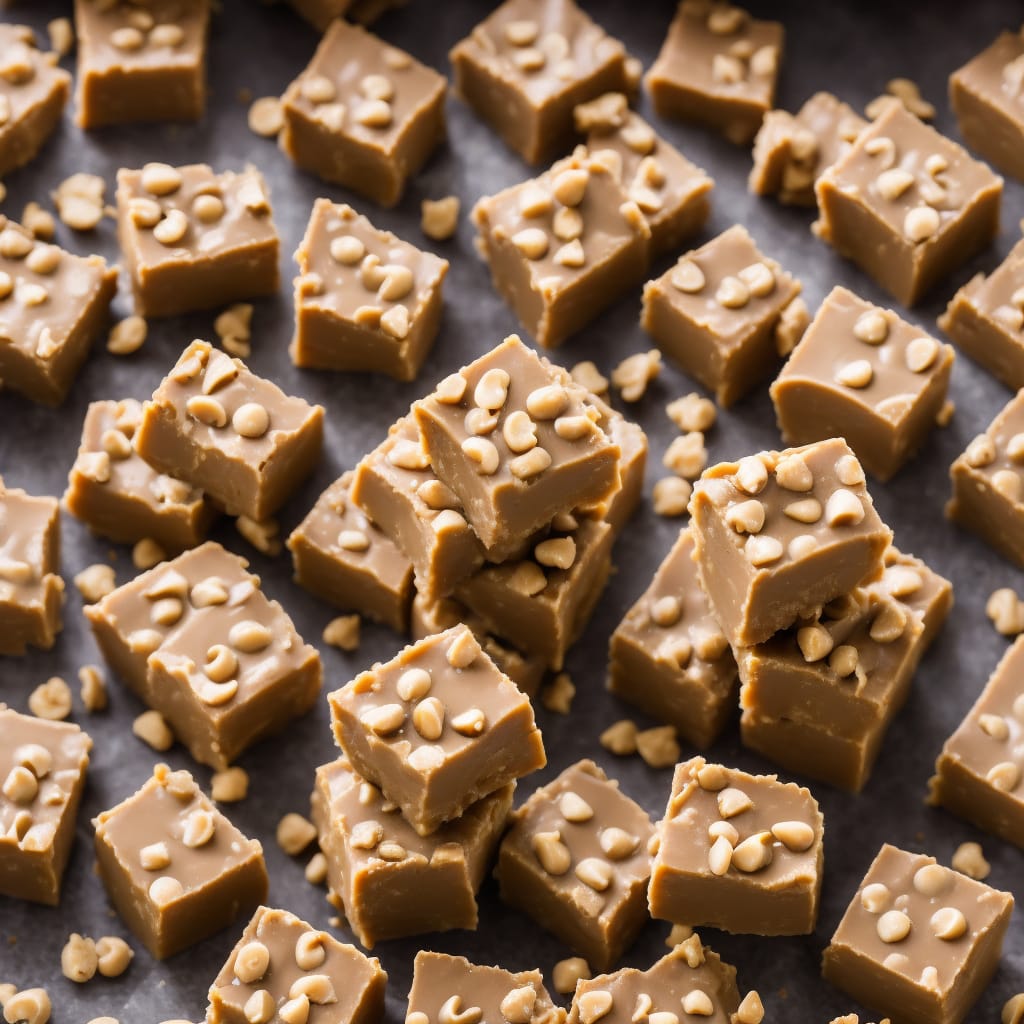
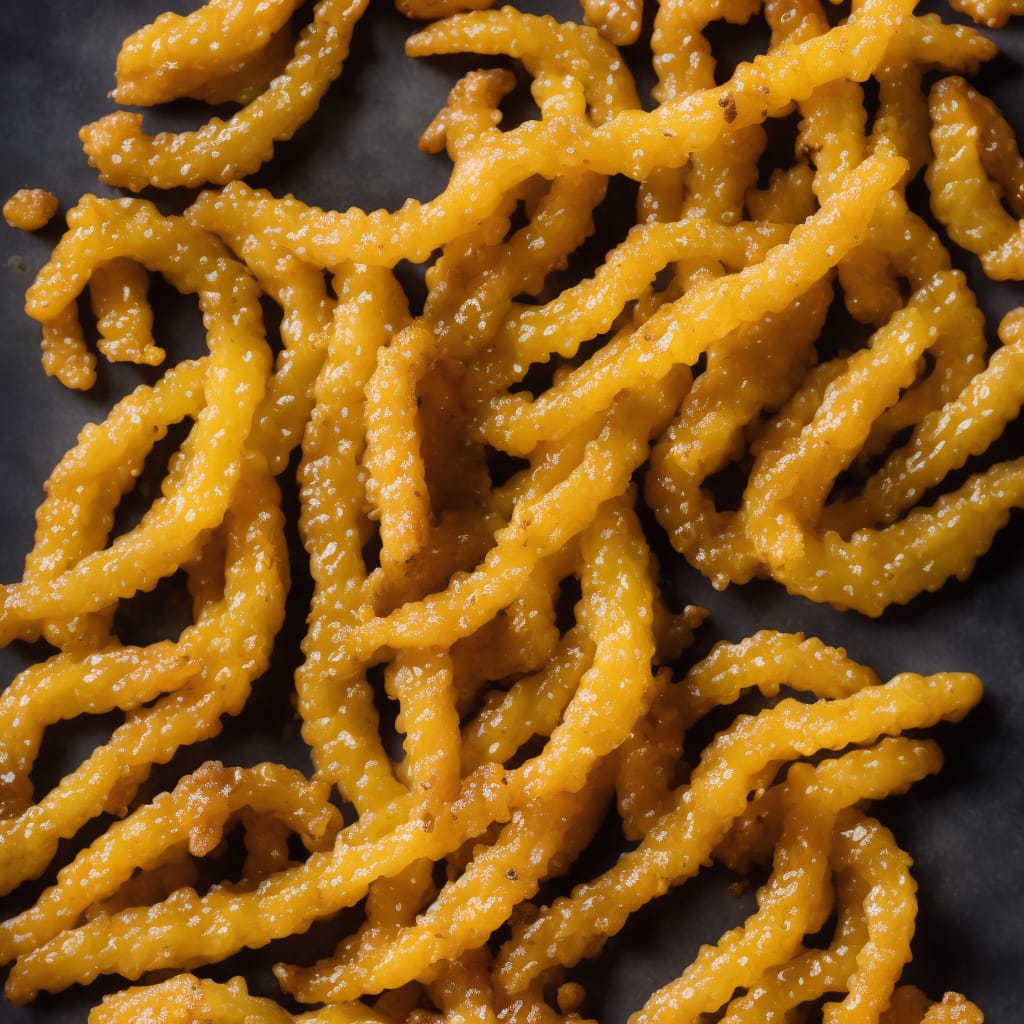
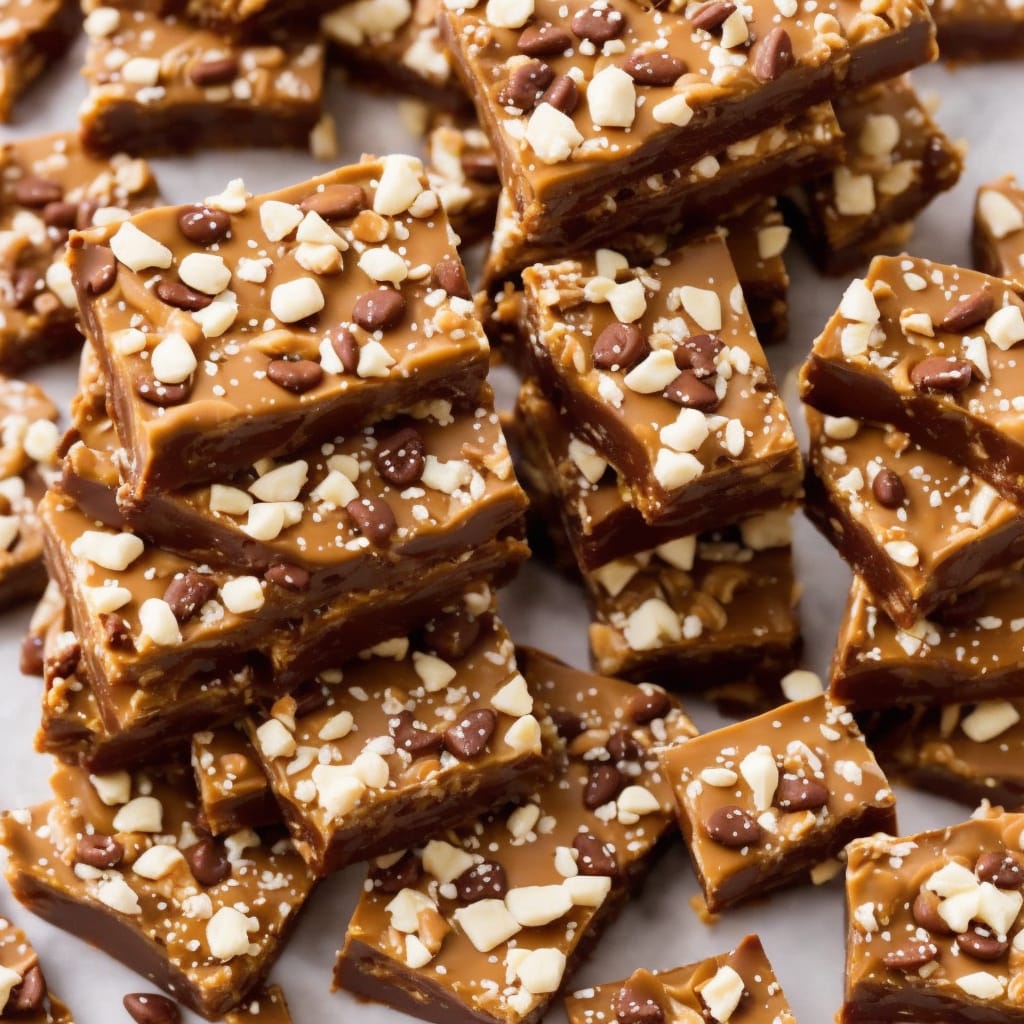
Got a sweet tooth? Satisfy that craving for something sweet as you follow these candy recipes! They’re the least messy of the bunch, and the best part? You can take your candy wherever you go! Great idea for those who need their sugar intake checked.
Read More

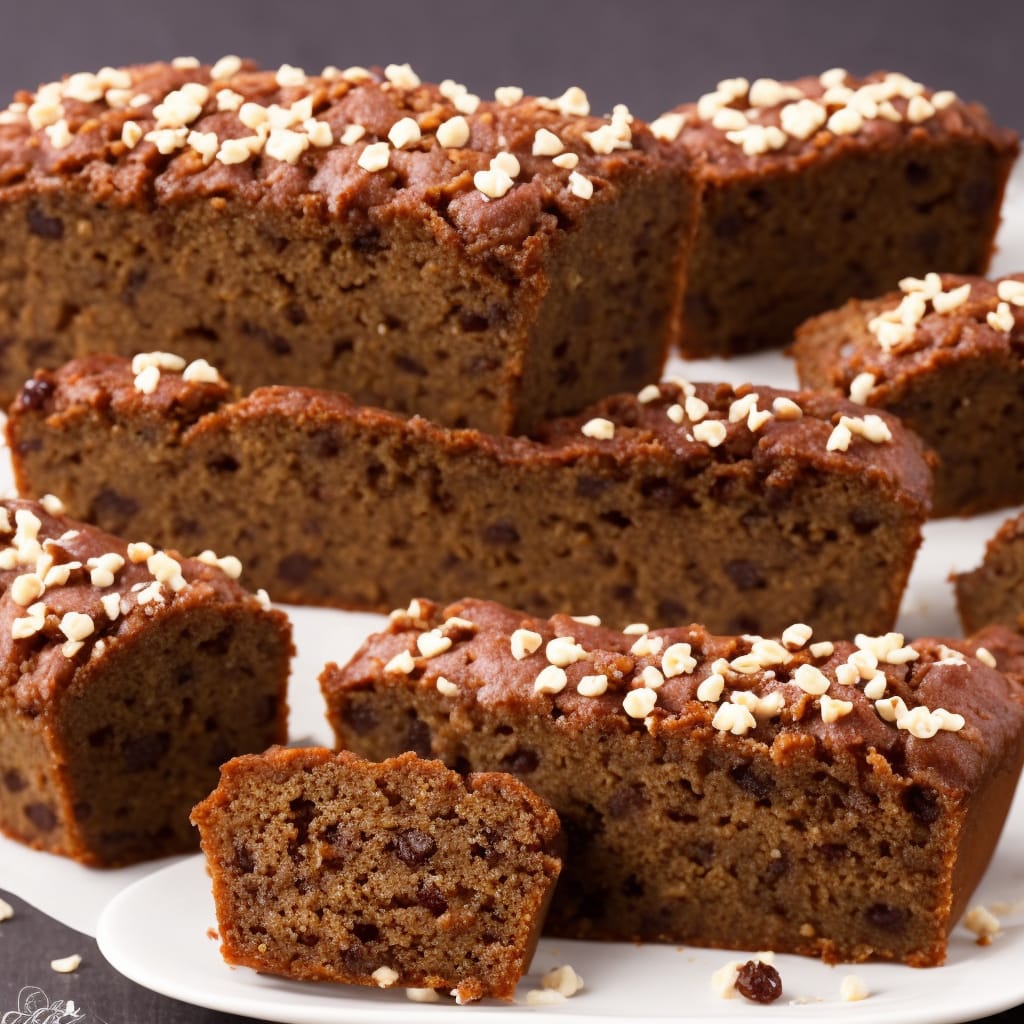
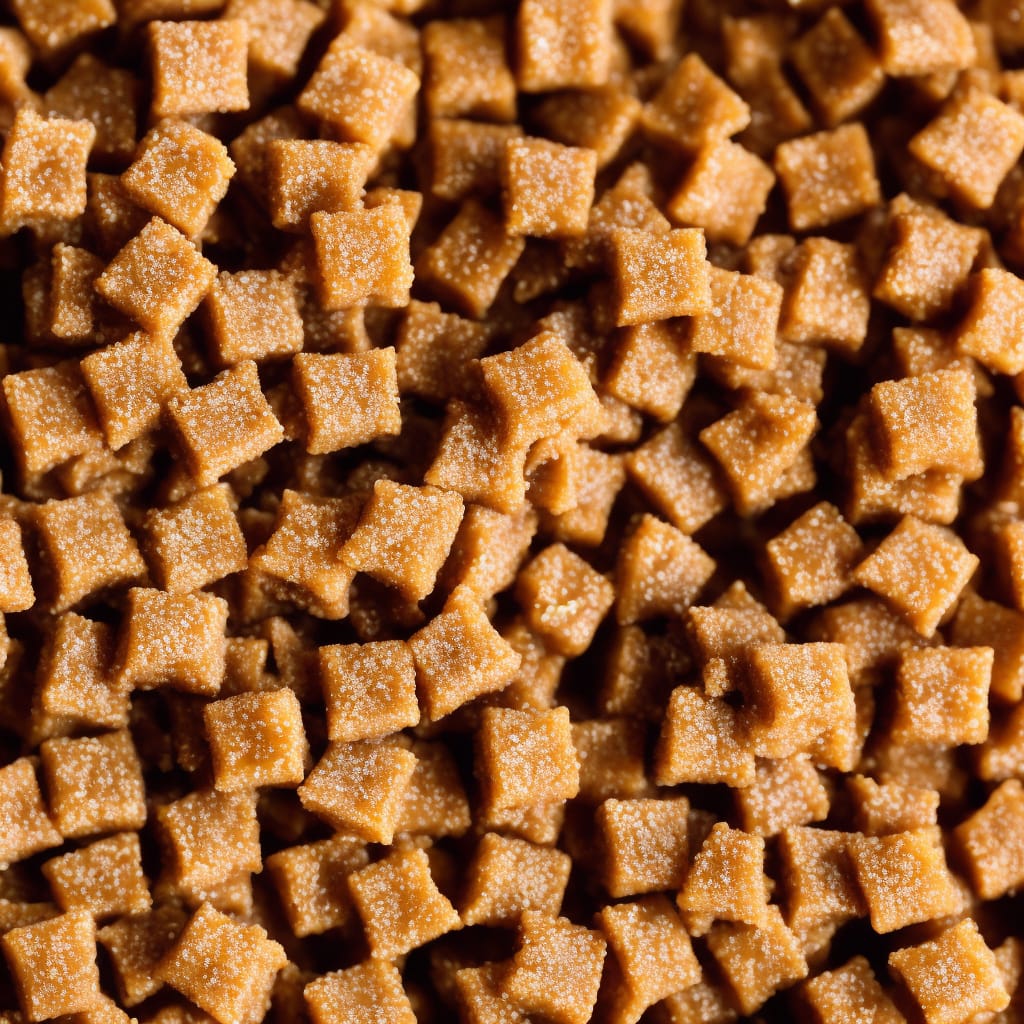
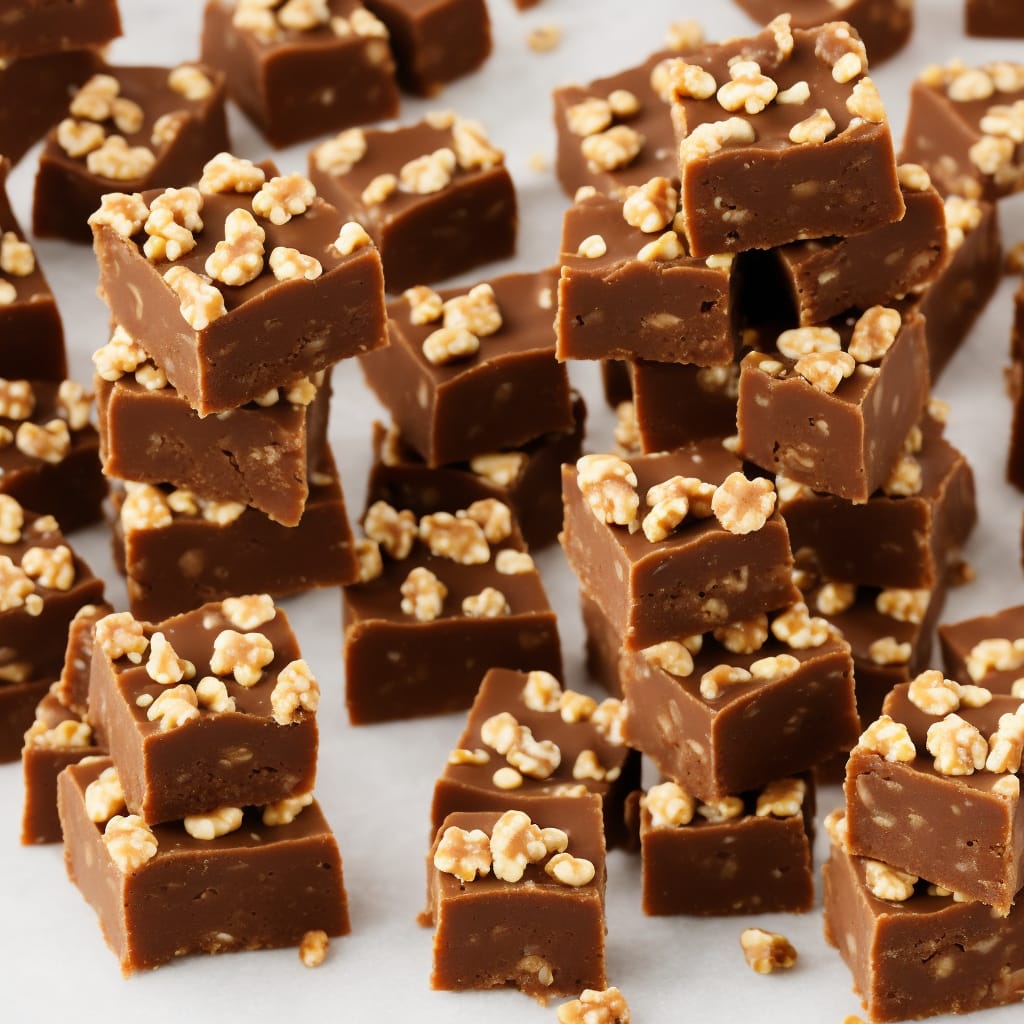
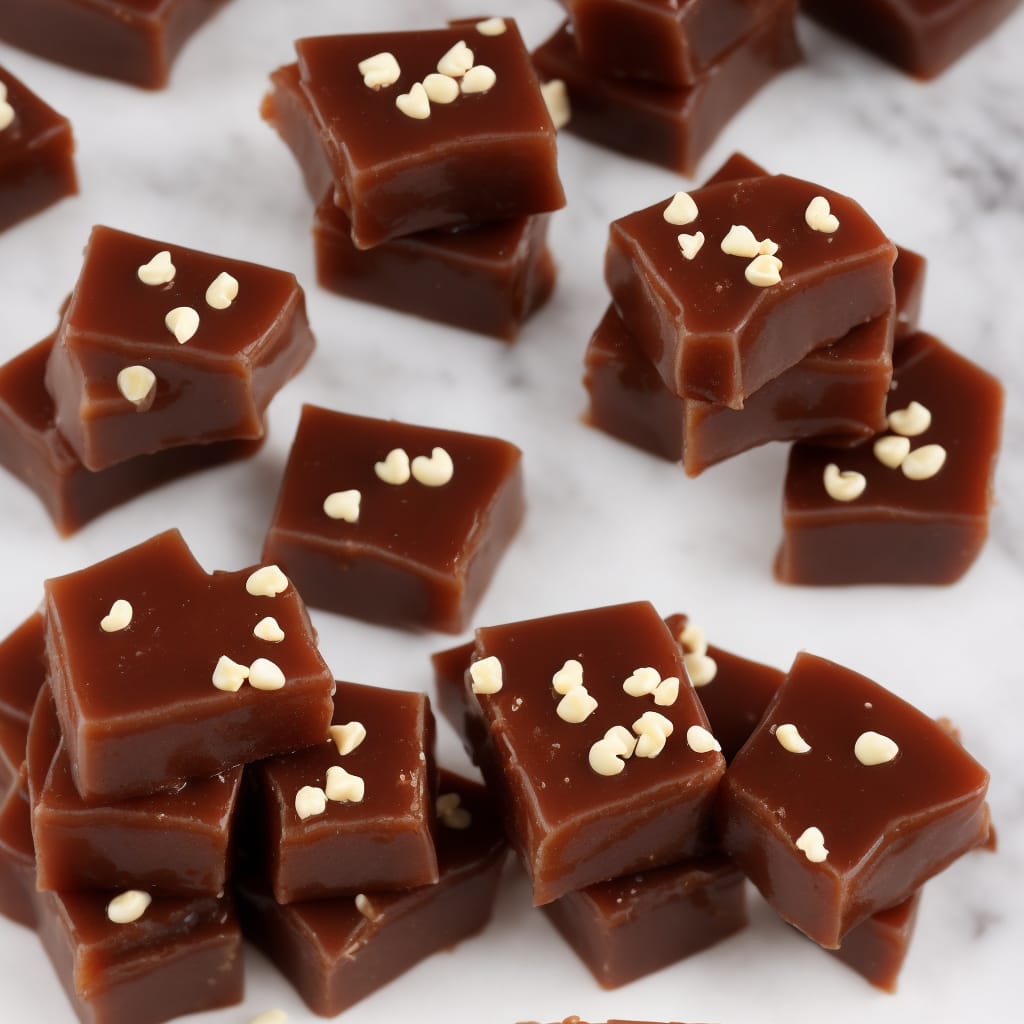
Got a sweet tooth? Satisfy that craving for something sweet as you follow these candy recipes! They’re the least messy of the bunch, and the best part? You can take your candy wherever you go! Great idea for those who need their sugar intake checked.
Read More

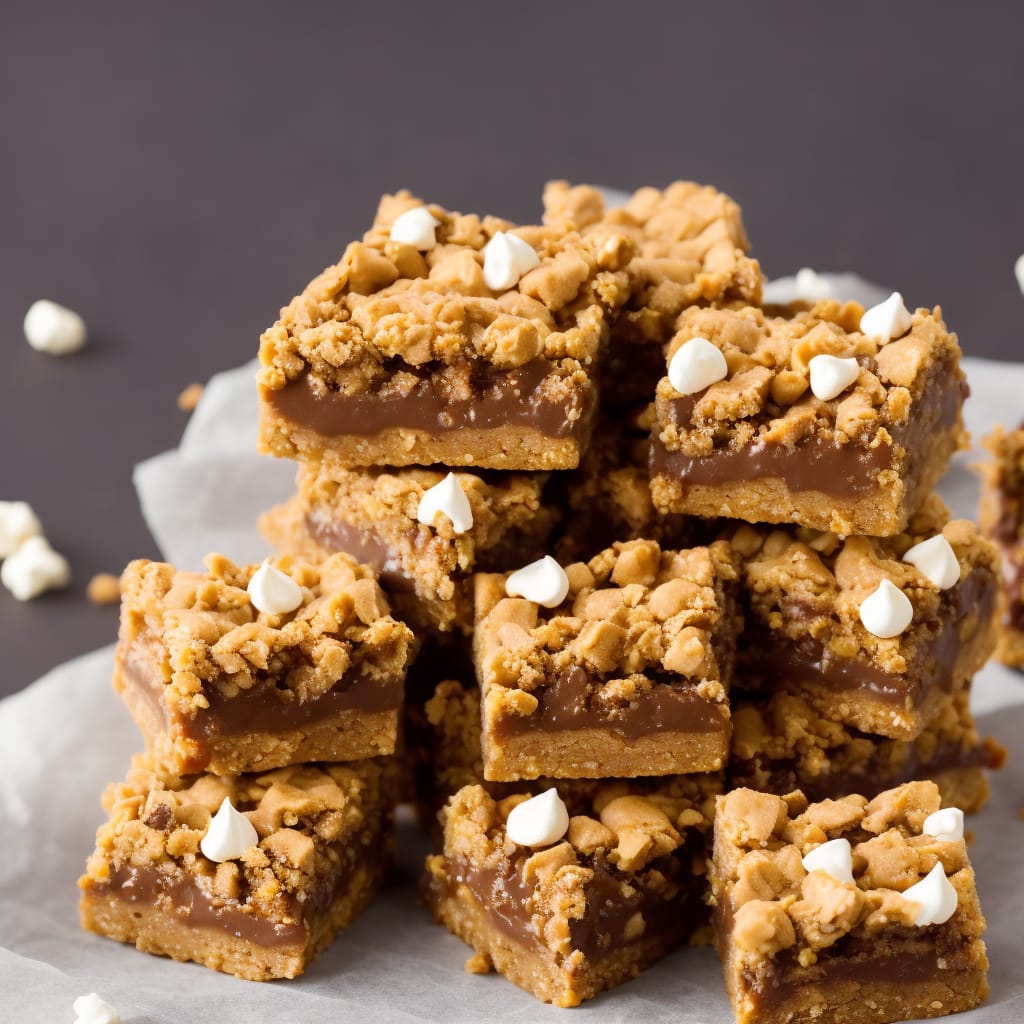
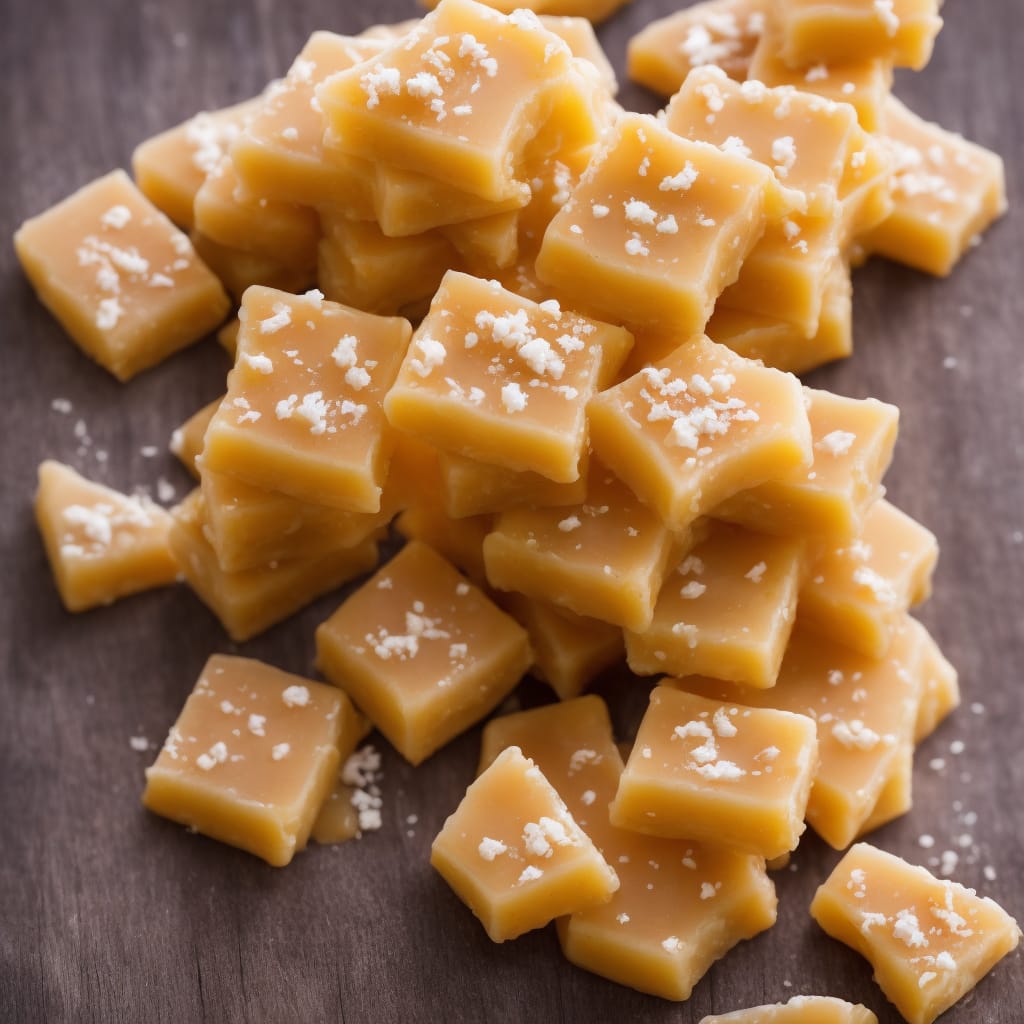
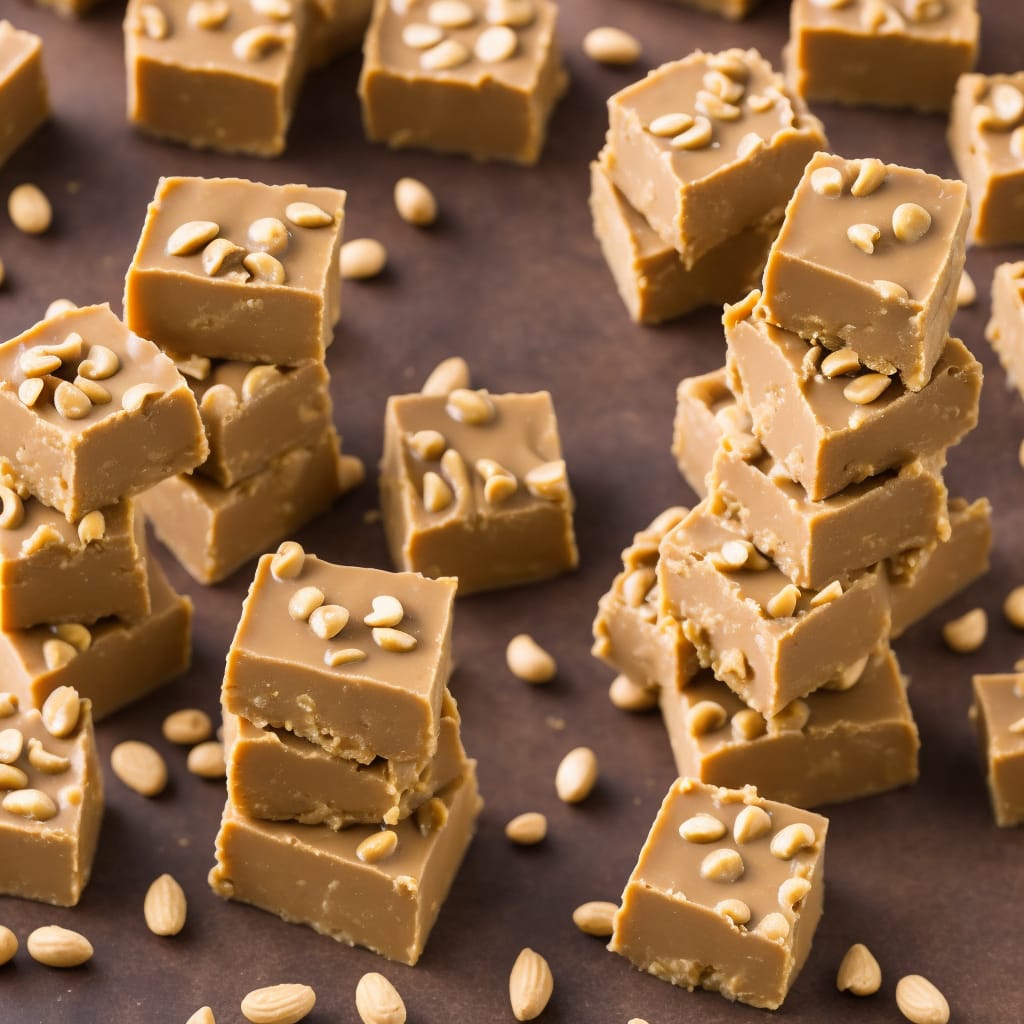
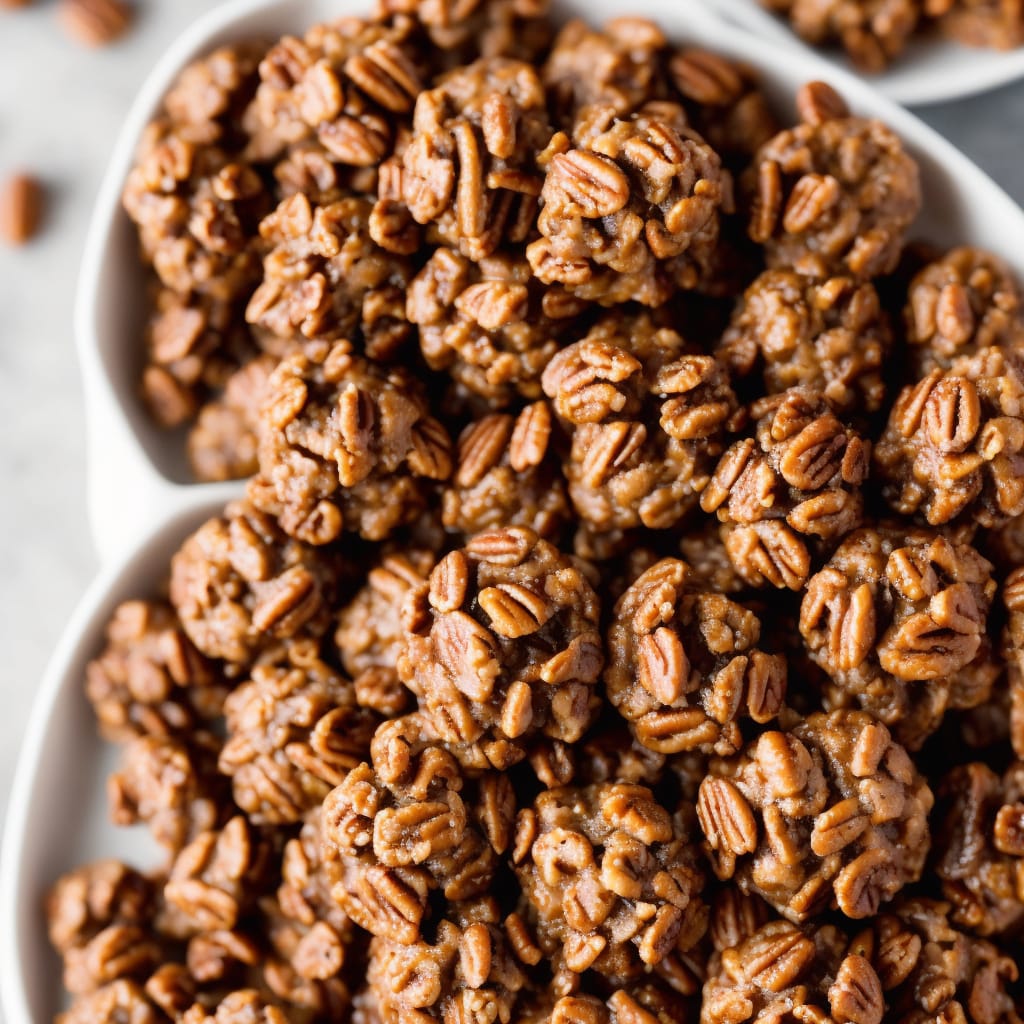
Got a sweet tooth? Satisfy that craving for something sweet as you follow these candy recipes! They’re the least messy of the bunch, and the best part? You can take your candy wherever you go! Great idea for those who need their sugar intake checked.
Read More
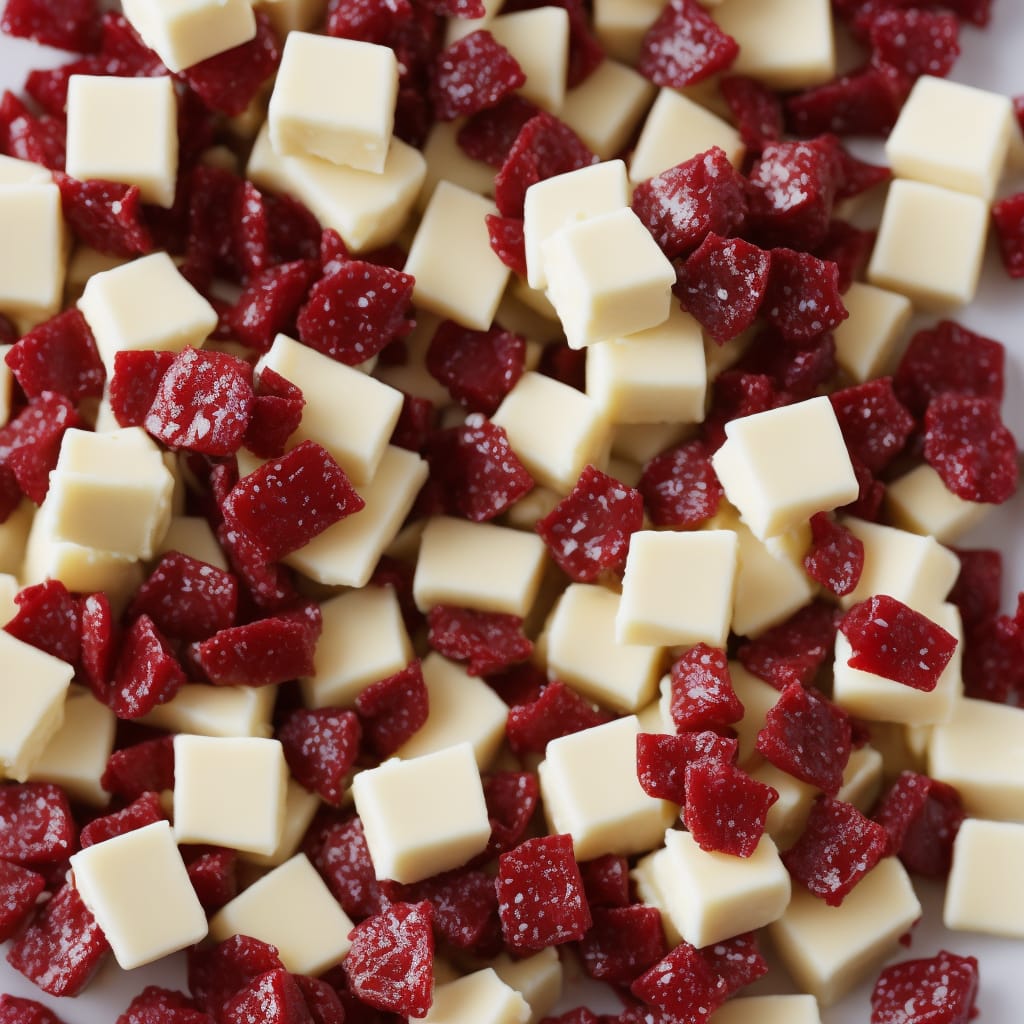
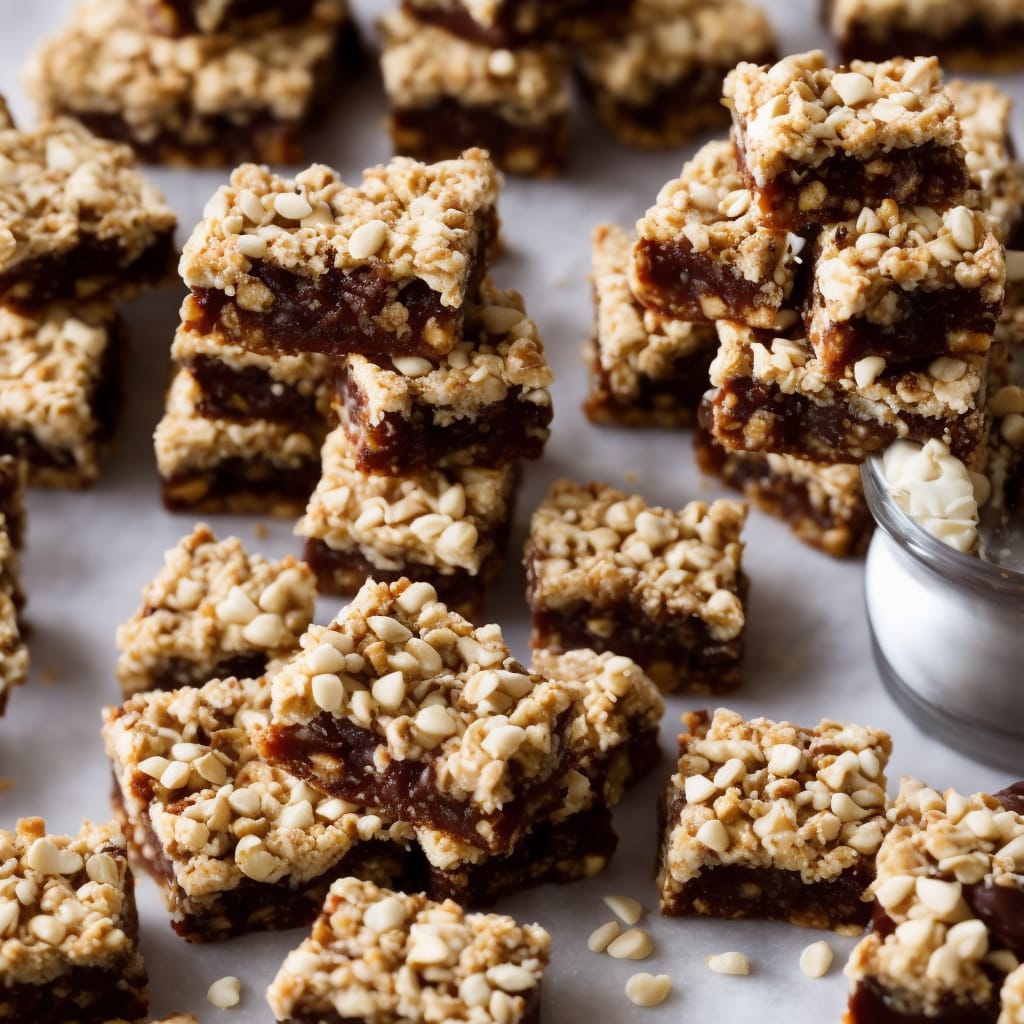
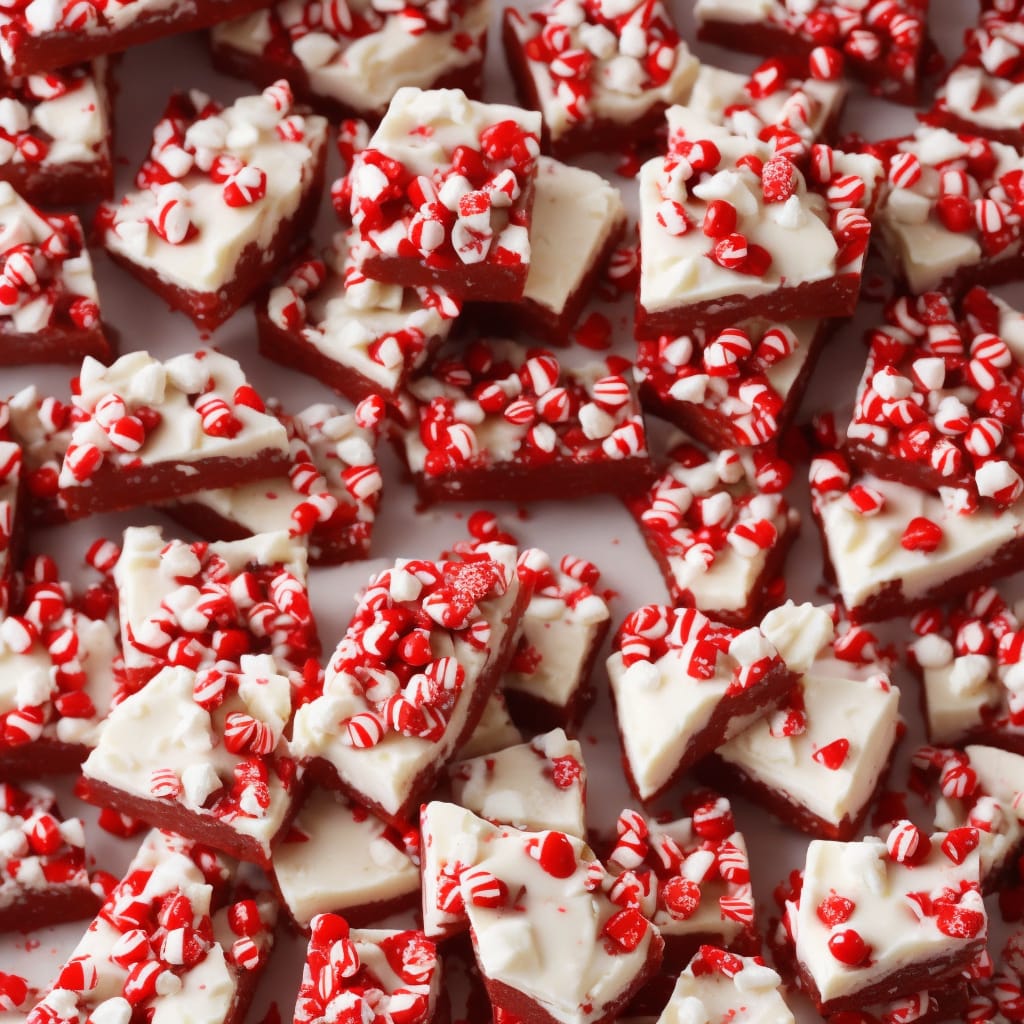
Got a sweet tooth? Satisfy that craving for something sweet as you follow these candy recipes! They’re the least messy of the bunch, and the best part? You can take your candy wherever you go! Great idea for those who need their sugar intake checked.
Read More
Got a sweet tooth? Satisfy that craving for something sweet as you follow these candy recipes! They’re the least messy of the bunch, and the best part? You can take your candy wherever you go! Great idea for those who need their sugar intake checked.
Read More
Got a sweet tooth? Satisfy that craving for something sweet as you follow these candy recipes! They’re the least messy of the bunch, and the best part? You can take your candy wherever you go! Great idea for those who need their sugar intake checked.
Read More
Got a sweet tooth? Satisfy that craving for something sweet as you follow these candy recipes! They’re the least messy of the bunch, and the best part? You can take your candy wherever you go! Great idea for those who need their sugar intake checked.
Read More

Got a sweet tooth? Satisfy that craving for something sweet as you follow these candy recipes! They’re the least messy of the bunch, and the best part? You can take your candy wherever you go! Great idea for those who need their sugar intake checked.
Read More

Got a sweet tooth? Satisfy that craving for something sweet as you follow these candy recipes! They’re the least messy of the bunch, and the best part? You can take your candy wherever you go! Great idea for those who need their sugar intake checked.
Read More

Got a sweet tooth? Satisfy that craving for something sweet as you follow these candy recipes! They’re the least messy of the bunch, and the best part? You can take your candy wherever you go! Great idea for those who need their sugar intake checked.
Read More

Got a sweet tooth? Satisfy that craving for something sweet as you follow these candy recipes! They’re the least messy of the bunch, and the best part? You can take your candy wherever you go! Great idea for those who need their sugar intake checked.
Read More

Got a sweet tooth? Satisfy that craving for something sweet as you follow these candy recipes! They’re the least messy of the bunch, and the best part? You can take your candy wherever you go! Great idea for those who need their sugar intake checked.
Read More

Got a sweet tooth? Satisfy that craving for something sweet as you follow these candy recipes! They’re the least messy of the bunch, and the best part? You can take your candy wherever you go! Great idea for those who need their sugar intake checked.
Read More
Got a sweet tooth? Satisfy that craving for something sweet as you follow these candy recipes! They’re the least messy of the bunch, and the best part? You can take your candy wherever you go! Great idea for those who need their sugar intake checked.
Read More
Got a sweet tooth? Satisfy that craving for something sweet as you follow these candy recipes! They’re the least messy of the bunch, and the best part? You can take your candy wherever you go! Great idea for those who need their sugar intake checked.
Read More

Got a sweet tooth? Satisfy that craving for something sweet as you follow these candy recipes! They’re the least messy of the bunch, and the best part? You can take your candy wherever you go! Great idea for those who need their sugar intake checked.
Read More
Got a sweet tooth? Satisfy that craving for something sweet as you follow these candy recipes! They’re the least messy of the bunch, and the best part? You can take your candy wherever you go! Great idea for those who need their sugar intake checked.
Read More
Got a sweet tooth? Satisfy that craving for something sweet as you follow these candy recipes! They’re the least messy of the bunch, and the best part? You can take your candy wherever you go! Great idea for those who need their sugar intake checked.
Read More
Got a sweet tooth? Satisfy that craving for something sweet as you follow these candy recipes! They’re the least messy of the bunch, and the best part? You can take your candy wherever you go! Great idea for those who need their sugar intake checked.
Read More

Got a sweet tooth? Satisfy that craving for something sweet as you follow these candy recipes! They’re the least messy of the bunch, and the best part? You can take your candy wherever you go! Great idea for those who need their sugar intake checked.
Read More
Got a sweet tooth? Satisfy that craving for something sweet as you follow these candy recipes! They’re the least messy of the bunch, and the best part? You can take your candy wherever you go! Great idea for those who need their sugar intake checked.
Read More
Got a sweet tooth? Satisfy that craving for something sweet as you follow these candy recipes! They’re the least messy of the bunch, and the best part? You can take your candy wherever you go! Great idea for those who need their sugar intake checked.
Read More

Got a sweet tooth? Satisfy that craving for something sweet as you follow these candy recipes! They’re the least messy of the bunch, and the best part? You can take your candy wherever you go! Great idea for those who need their sugar intake checked.
Read More

Got a sweet tooth? Satisfy that craving for something sweet as you follow these candy recipes! They’re the least messy of the bunch, and the best part? You can take your candy wherever you go! Great idea for those who need their sugar intake checked.
Read More

Got a sweet tooth? Satisfy that craving for something sweet as you follow these candy recipes! They’re the least messy of the bunch, and the best part? You can take your candy wherever you go! Great idea for those who need their sugar intake checked.
Read More

Got a sweet tooth? Satisfy that craving for something sweet as you follow these candy recipes! They’re the least messy of the bunch, and the best part? You can take your candy wherever you go! Great idea for those who need their sugar intake checked.
Read More

Got a sweet tooth? Satisfy that craving for something sweet as you follow these candy recipes! They’re the least messy of the bunch, and the best part? You can take your candy wherever you go! Great idea for those who need their sugar intake checked.
Read More
Got a sweet tooth? Satisfy that craving for something sweet as you follow these candy recipes! They’re the least messy of the bunch, and the best part? You can take your candy wherever you go! Great idea for those who need their sugar intake checked.
Read More
Got a sweet tooth? Satisfy that craving for something sweet as you follow these candy recipes! They’re the least messy of the bunch, and the best part? You can take your candy wherever you go! Great idea for those who need their sugar intake checked.
Read More
Got a sweet tooth? Satisfy that craving for something sweet as you follow these candy recipes! They’re the least messy of the bunch, and the best part? You can take your candy wherever you go! Great idea for those who need their sugar intake checked.
Read More